
How to photograph old photos with your phone
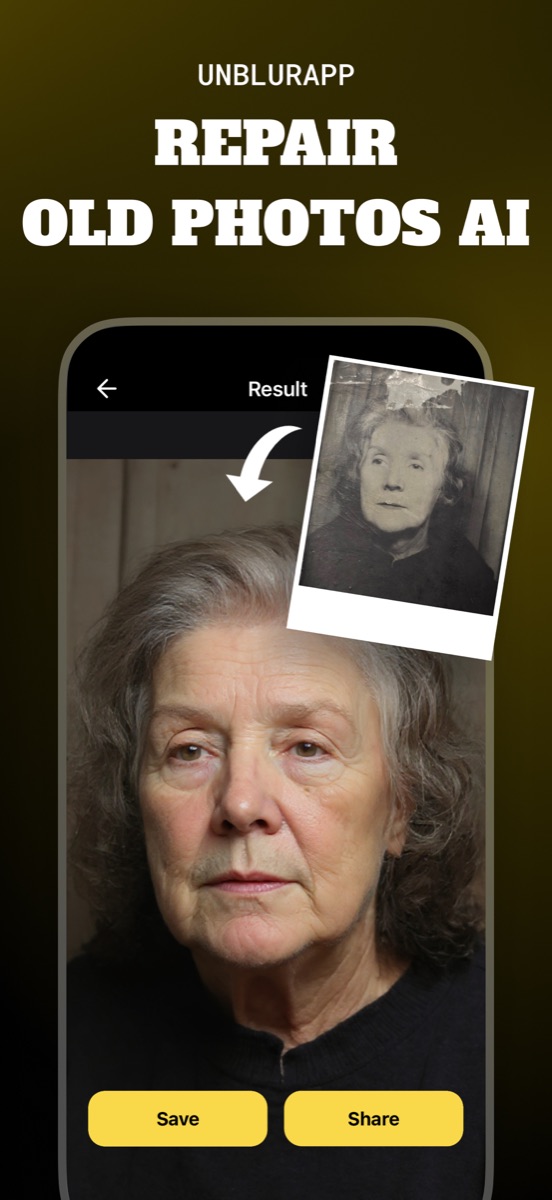
Lay the print flat in soft indirect daylight, turn the flash off, hold the phone parallel to the paper so the edges stay square, fill the frame, and tap the screen to focus before you shoot. That capture decides the quality of everything you do afterwards, because no restoration can exceed the detail your copy actually contains.
Why this step decides everything
Restoration models work on the file you give them. Detail that your capture missed is not recoverable later, it can only be invented, and invented detail is the part of AI restoration people find unconvincing.
Two minutes of care here changes the output more than any setting in any app. It is also the only part of the process you fully control.
The five things that matter
- Take it out of the frame
Glass reflects the room, and the restorer treats those reflections as part of the picture.
- Use soft indirect daylight
A window on an overcast day is ideal. Flash creates a hotspot in the centre and kills the shadow detail around it.
- Keep the phone parallel to the print
Shooting at an angle makes the rectangle a trapezoid and pushes one edge out of focus.
- Fill the frame
Every pixel spent on your table is a pixel not spent on the photograph.
- Tap to focus, then shoot
Phone cameras guess focus and often settle on the surface texture of the table instead of the print.
Dealing with glare on glossy prints
Glossy paper mirrors whatever is in front of it, including you. If you can see your own reflection in the print, the camera can too.
Tilt the print a few degrees, or move so the light source is off to one side rather than behind you, and the reflection slides out of frame. Standing beside a window works better than standing in front of one. If a hotspot persists, rotate the print ninety degrees and try again; the angle that removes glare is usually easy to find once you stop shooting straight down at it.
Curled, brittle and stuck prints
A print that will not lie flat can be pressed for a few minutes under a heavy book with clean paper on both sides. Do not force a crease flat and do not leave it pressed for days, since a brittle print can crack along the fold.
A print stuck to glass, to an album page, or to another print is a different problem. Pulling it free lifts the emulsion and takes the image with it. Photograph it where it is, at whatever angle avoids the worst reflection, and accept the compromise. A conservator can separate it; a kitchen table cannot.
Do you need a scanner
For most family prints, no. A phone capture in good light gives a modern sensor more than enough to work with, and the 4x upscale takes care of the size.
A scanner earns its place in two cases: very small originals such as contact prints and instant photos, where every pixel counts, and prints with fine detail you intend to enlarge substantially. If you have one, scan at 600 dpi rather than 300. If you do not, the phone in your pocket is not the bottleneck people assume it is.
A workflow for a whole box
Set up once and keep the setup. Same table, same window, same time of day, phone in the same position. Consistency means the restorations come out looking like a set instead of thirty individually judged images.
Shoot everything first and process afterwards. Switching between capturing and enhancing doubles the time, and batching keeps you in one mode. Label as you go, even roughly, because two hundred files named IMG_4471 onwards is a project that quietly gets abandoned.
Questions people also ask
Is a phone photo good enough to restore an old print?
For the large majority of family photographs, yes. Flat, even light and a straight-on angle matter far more than whether the capture came from a phone or a scanner.
Should I use a scanning app instead of the camera?
Scanning apps mainly add edge detection and perspective correction, which help with documents. For a photograph, a careful straight-on camera shot gives you the same thing without extra processing applied to the image.
Related guides

How to restore old photos
Restore old photos without a scanner or Photoshop. How to capture prints properly, what AI restoration fixes, and how to make old photos look new.
Read the guide →
How to fix old photos
Fix old photos by working out what is actually wrong with them. A five-point check for fading, blur, damage, resolution and colour, and the fix for each.
Read the guide →
How to restore old damaged photos
Repair damaged photos with cracks, scratches, tape marks and torn corners. How to handle a fragile print, capture it safely, and rebuild it with AI.
Read the guide →